

Here's the story of my second DIY case. This time, the idea was to fit my current "condensed" jam setup into a suitcase to make it portable. The setup includes:
- 6U of Eurorack
- a MicroBrute
- a Korg Volca Beats
- a guitar pedal or two
- maybe an iPad.
Watch the setup (without the suitcase) in action in my weekly jam sessions on YouTube. For example in this recent video here:
In the above video, you see my first 6U DIY Eurorack case, which I built with a Doepfer A-100 DIY Kit. It was very easy, so I decided to use a Doepfer DIY Kit for the new case again.
The pictures in this post are taken from my Instagram account, where I post updates along the way:
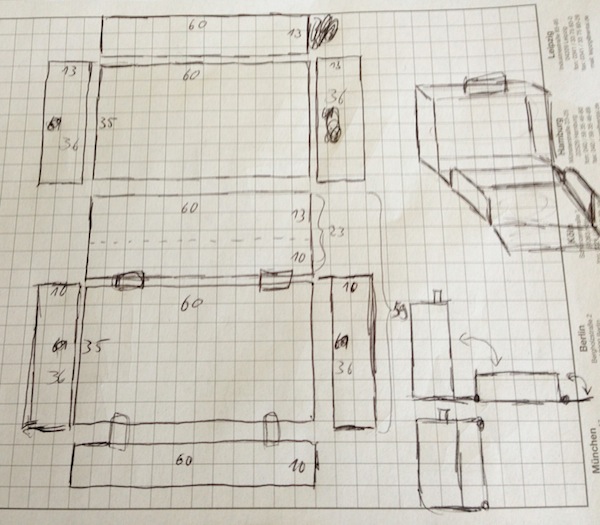
Here are some sketches of my ideas for the second case:
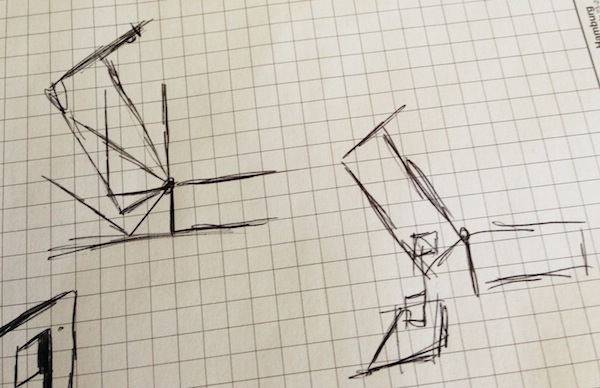
The Eurorack modules would go into the upright box and the MicroBrute etc. into lower box. To play the microbrute though, I would have to omit the front (or top) wall of the lower box to reach the keyboard comfortably from the front. I couldn't do an elegant solution like horstronic with his nicely sloped lower box, because I could only get wood cut at a right angle, with minimum measurements of 100x100mm. Also, and this is a key part to this story, I'm a total noob, without much wood-working experience, tools and space.
So, I decided to build this version, where the lower box wouldn't have a front wall, but the top box would have an extended top wall.
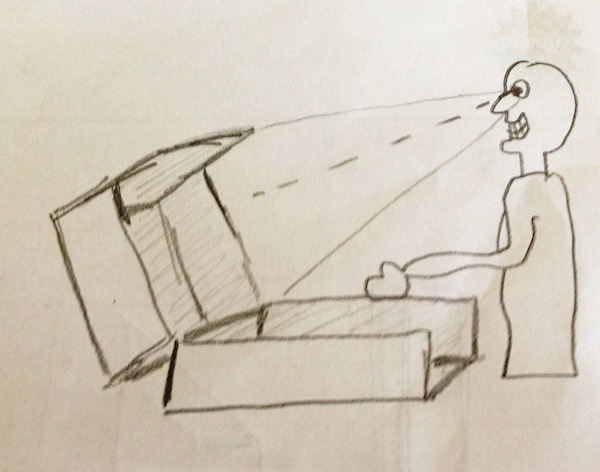
My thinking was, that when the top box is angled backwards a little, I could still see into the case properly when standing in front of it, without the extended top obscuring the top row of modules. How would I angle the top case backwards a little? I don't know ... I'll figure it out. Yeah!
So, on to measurements. I arranged the MicroBrute and the rest on a table and measured how much space I'd need, including extra room for power supplies, etc., while not making the case too large to carry. I came up with the following:
Inside of top box (Eurorack):
Width: 600 mm
Height: 360 mm
Depth: 130 mm
Inside of bottom box (MicroBrute, etc.):
Width: 600 mm
Height: 360 mm
Depth: 90 mm
Wood thickness: 10 mm
The first question after that was how to handle the Eurorack box. 600 mm width would give me appx. 118HP, but I'd need custom rails for that. Luckily I found the great Clicks & Clocks online store for those, which probably made the rails the easiest part of this whole project.
Next up, I went into a hardware store and got some wood and materials. Here are a few pictures:
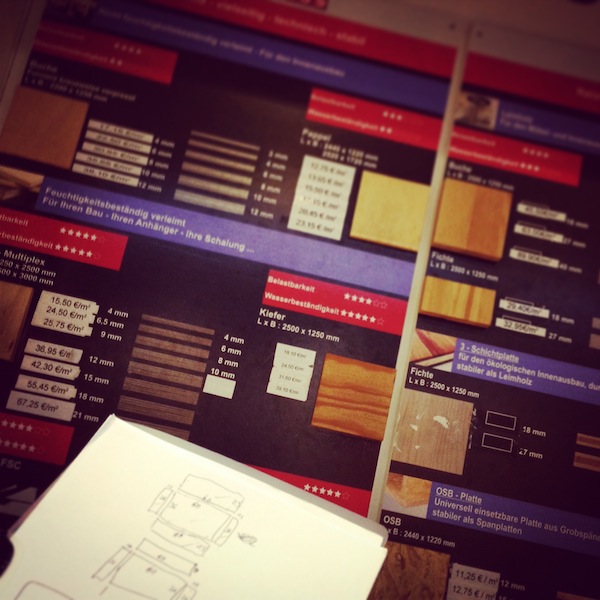

The wood I went with was Poplar ... which might bite me in the a$$ later on, because it's quite soft. Oh well, we will see.
Back home, I started by placing the wood pieces together, like I would need them in the end.
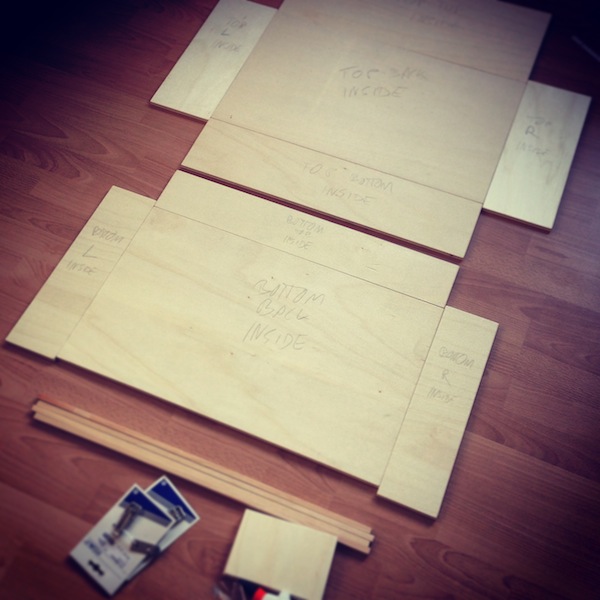
Everything seemed to fit nicely! So, I started working
First, I sanded the wood:
... and then I glueded the pieces together and drilled in brackets for additional support
Sliding some nuts:
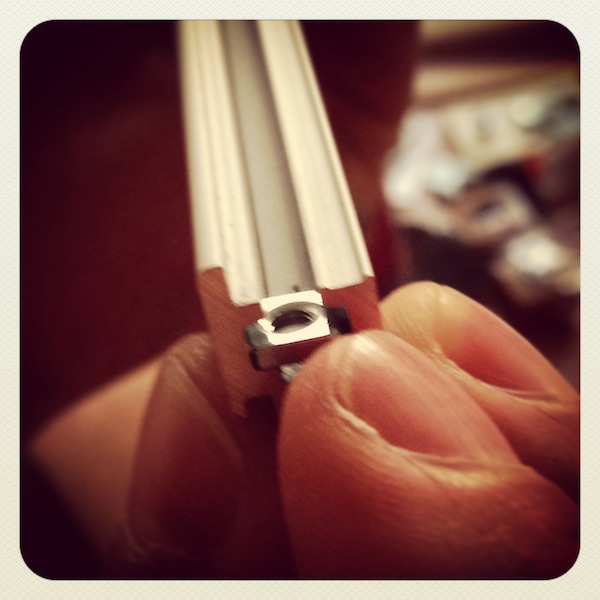
After having had trouble with gaps between modules in my Doepfer case, which used threaded strips, I decided to stick with sliding nuts for my DIY cases.
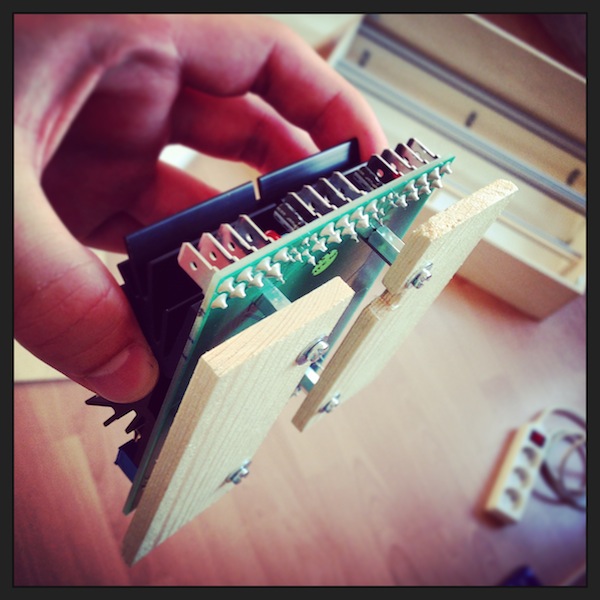
Attaching the Eurorack rails:

This was a case of "didn't I learn anything from my first DIY case?!?!?"
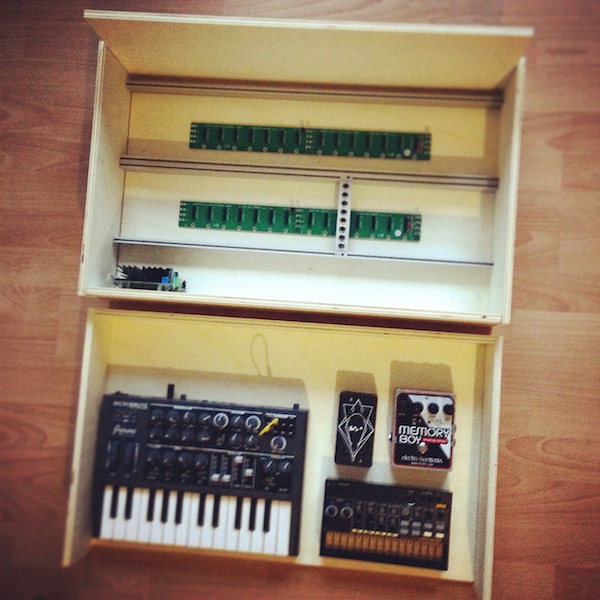
After I got the boxes built, I put them together to see if they'd work as a case:

They did! Phew!!!!
After sleeping on this achievement, the next step was spray-painting the box. Why did I build it before painting it? It seemed easier and I wanted to see if everything fit before I started with the paint. I assume there are a lot of good arguments for painting the individual pieces before putting them together though ... I don't know.
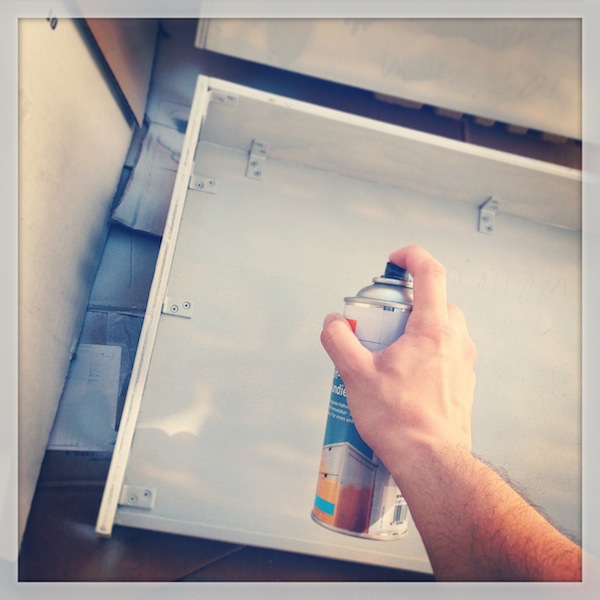
Applying primer (two layers):
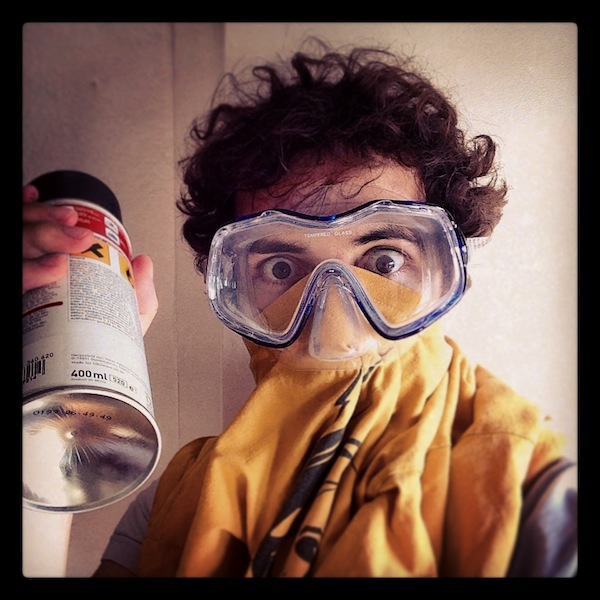
A professional painter
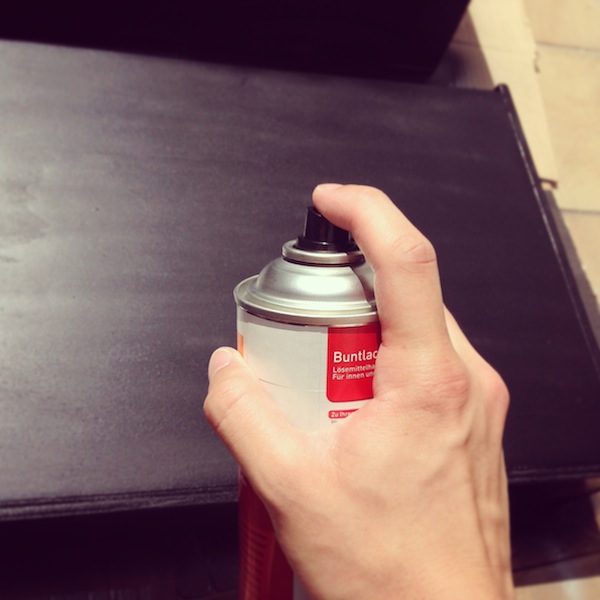
Applying black paint (about two and a half layers):
Girlfriend wanted to paint something too 8_)
... oh crap! It started to rain!!!
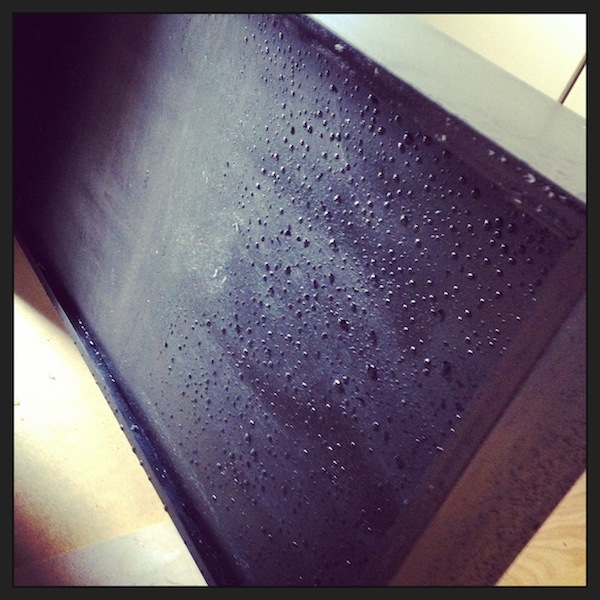
Looks like the paint was dry enough though, so that it wasn't diluted or washed off.
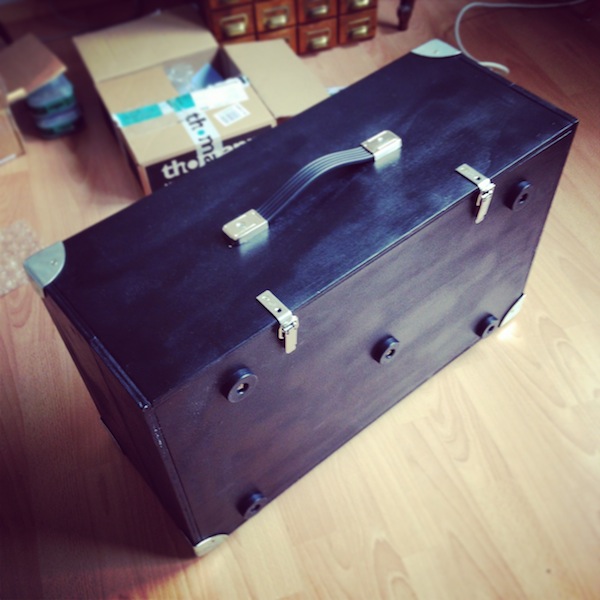
Okay, the paint is fine! On we go with hinges, rubber feet, latches, etc.
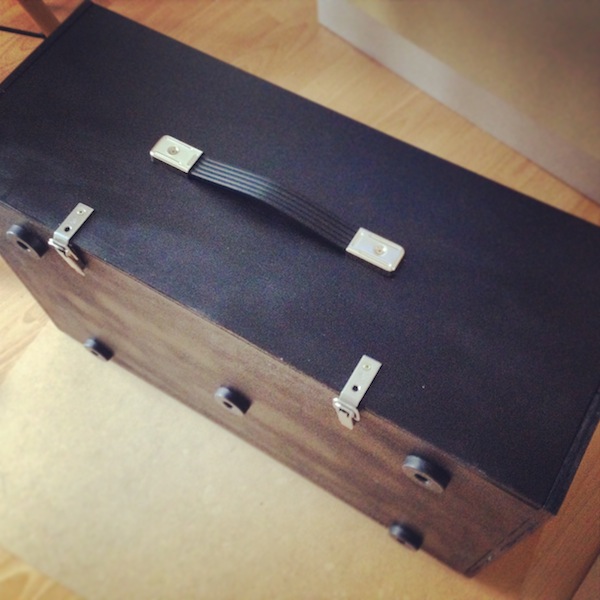
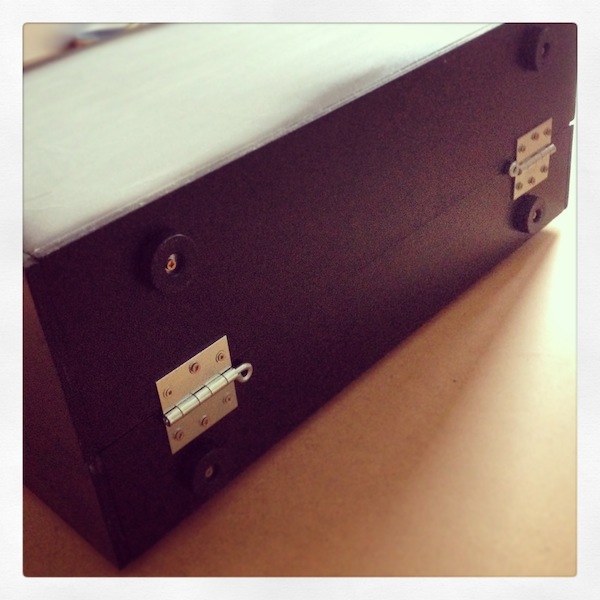
Wow, it's starting to look like a proper case!
Next up: Doepfer bus boards and power supply. Here's the power supply screwed on loose pieces of wood, for easier mounting inside the case
Screwing the bus boards into the back of the case with wood screws and washers
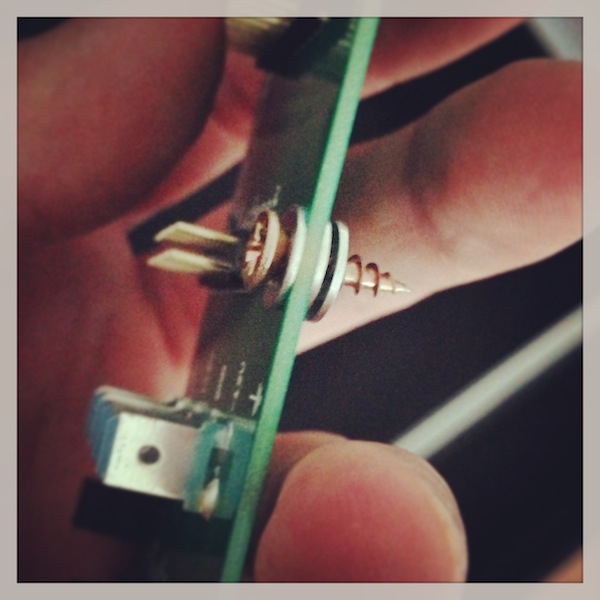

Looking good!
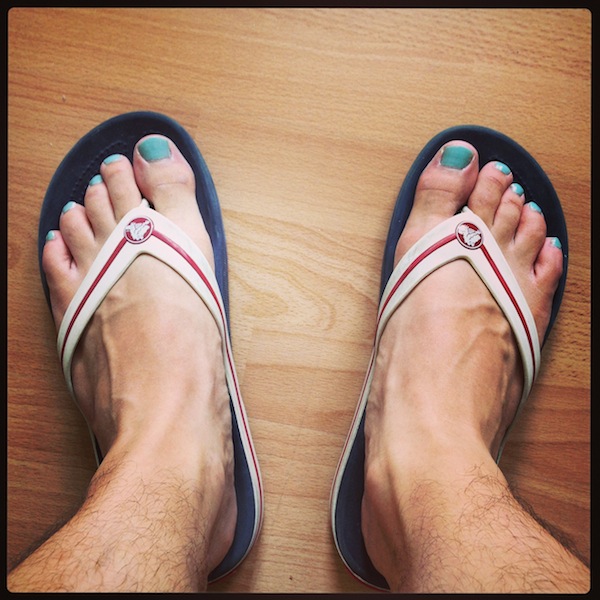
OH NO!!! A minor setback! The wood was indeed too soft for the handle to stay attached, even without anything inside the case. The screws broke out and and the case fell 1m (~3ft) to the ground ... and also on my foot.
Result:
- one broken off handle
- one dented corner
- one broken off hinge
- one ruined toe nail.
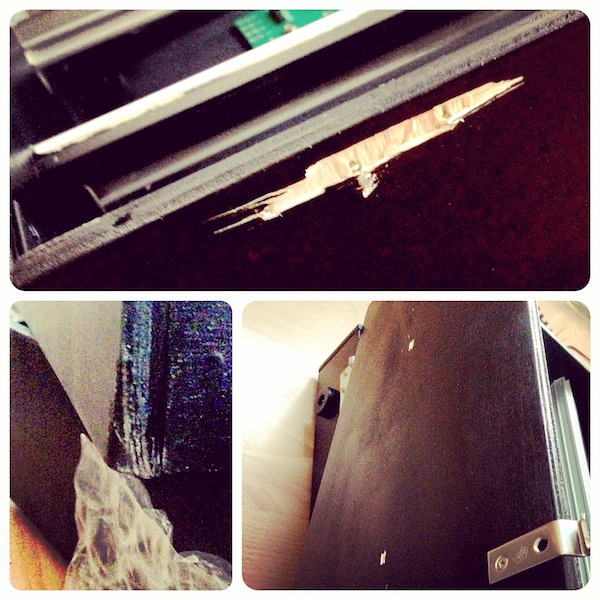
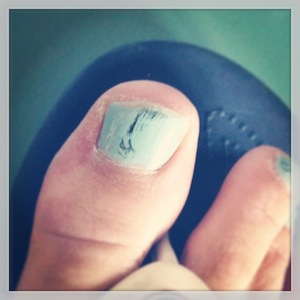
Damn!!! Luckily, the Doepfer power supply didn't break.
Looks like I need to attach the handle and the hinges properly. I actually could have forseen the handle breaking off ... guess it "didn't do" this time.
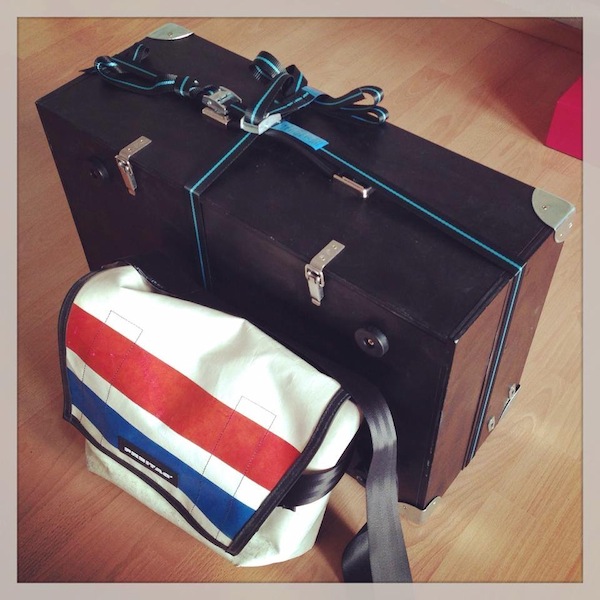
So, after another visit to the hardware store, I re-attached the handle and hinge with proper screws, nuts and washers. I also put some metal protection on the corners. It all feels a lot sturdier now and I can start to put stuff into the case.
I wanted to attach the non-modular instruments, as well as all of the power bricks, to the case using Velcro, but I found 3M Dual Lock instead. It's similar to Velcro, but doesn't have two different sides, but only one, which interlocks with itself. It holds things together like crazy, so I really didn't worry about putting the MicroBrute upside down inside the case for a test.
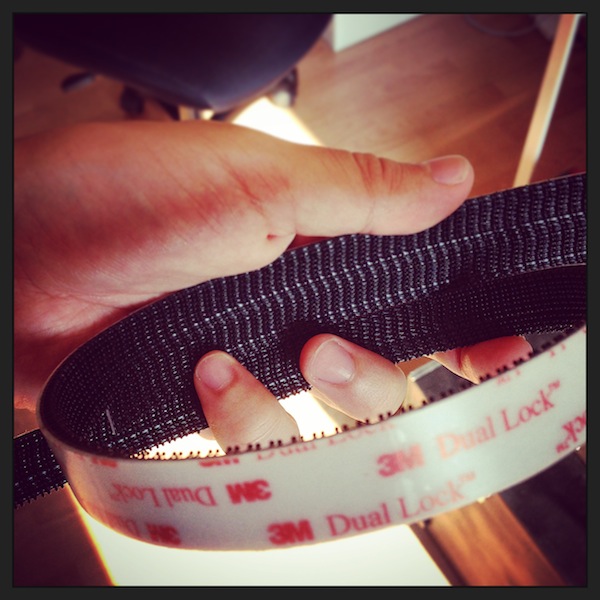
The power bricks also sit real tight, I just have to see wether the Dual Lock's glue gets soft when the bricks get warm during use. The power outlets and bricks are located in the bottom row, below the two rows of Eurorack, by the way.
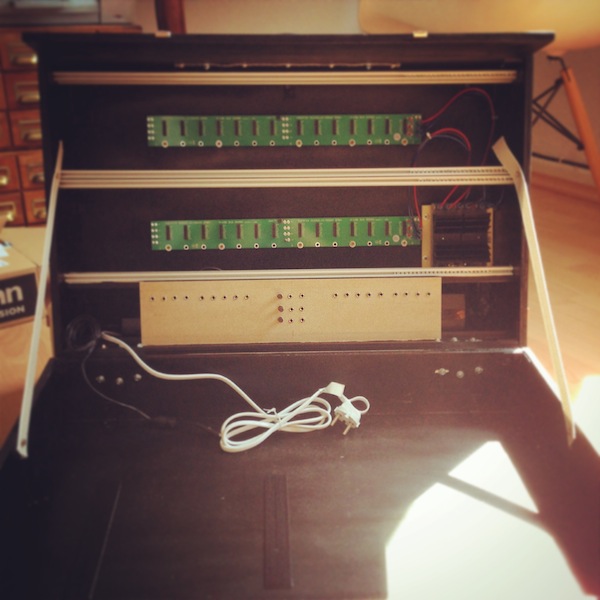
In front of the bottom row, I will put a thin piece of wood, in which I started to build some utilities for the modular synth, like multiples and attenuators.
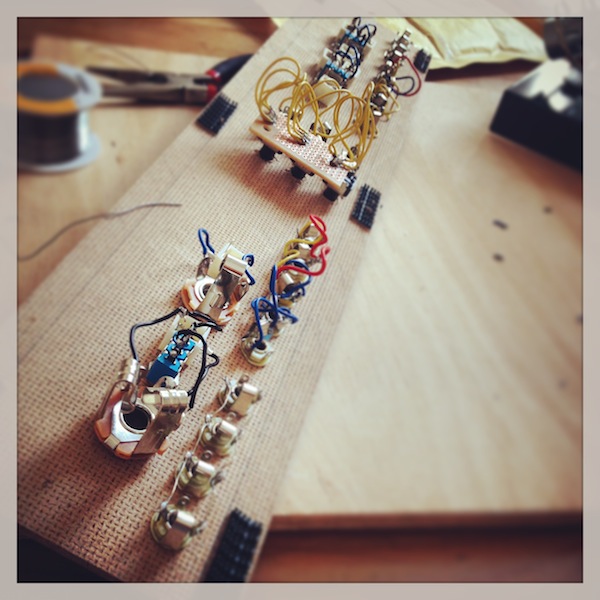
Before I finish the utility panel though, I have to put some modules in the case. I've been really looking forward to that moment!
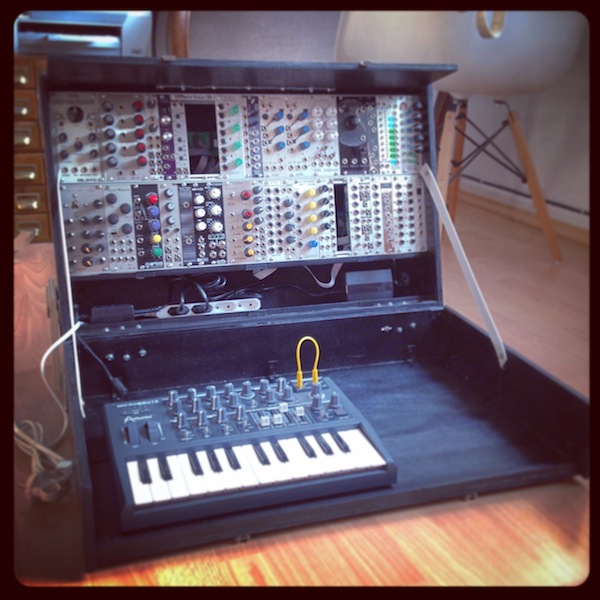
I weighed the case and with the above content, it's 12 kg (~24 lbs). The top handle seems to hold it fine now, but I'm still a little worried and have to think about another solution for the long run.
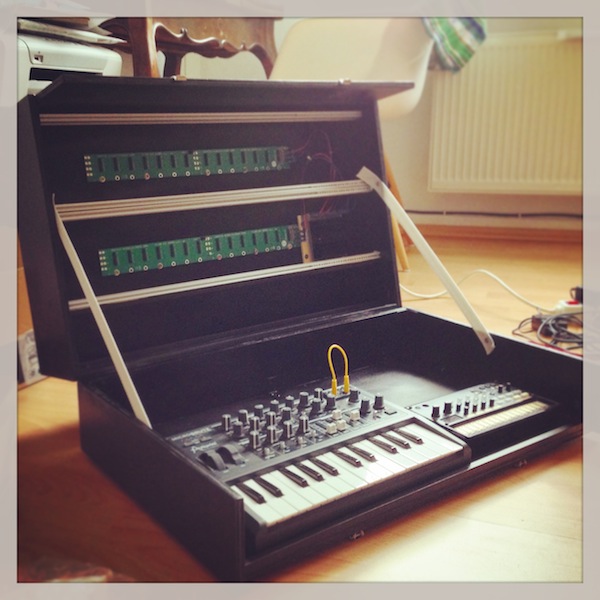
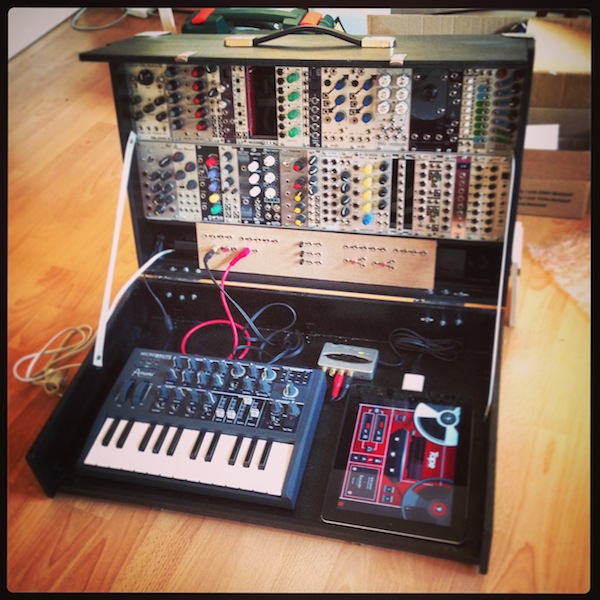
There is also still the big problem of the top-heavy weight distribution. The case will just fall backwards once it's opened, because the modular synth is obviously a lot heavier than what I'll have in the bottom part. I need to figure out some stand for the upright part, which ideally shouldn't take too much space. Here's a first try, using pieces of wood which slide onto the side of the case.

It works, but it doesn't feel sturdy enough yet, so for this I'll think about another solution too.
Here is a first little jam session with the setup:
[video][/video]
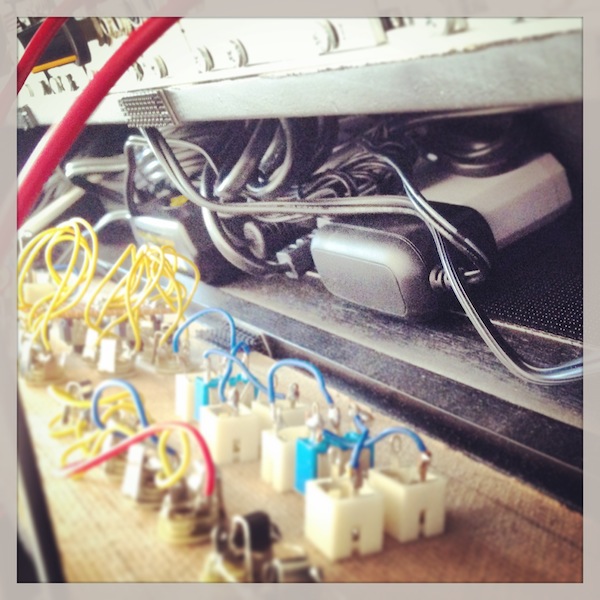
Here's a peek behind the utility panel. There is a very thin 4x Euro-Power strip, to which I connect the power plugs of the Doepfer DIY Kit, MicroBrute, Behringer MX400 mini mixer and 1Spot Guitar Pedal power supply (daisy-chained power plugs).
Put the case on my table and rearranged all my setup around it. In the process I somehow got rid of all the MIDI connections, without really thinking about it (I'm not against MIDI and never had a big problem with it).
[video][/video]
And here is the promised video demo of my case
[video][/video]
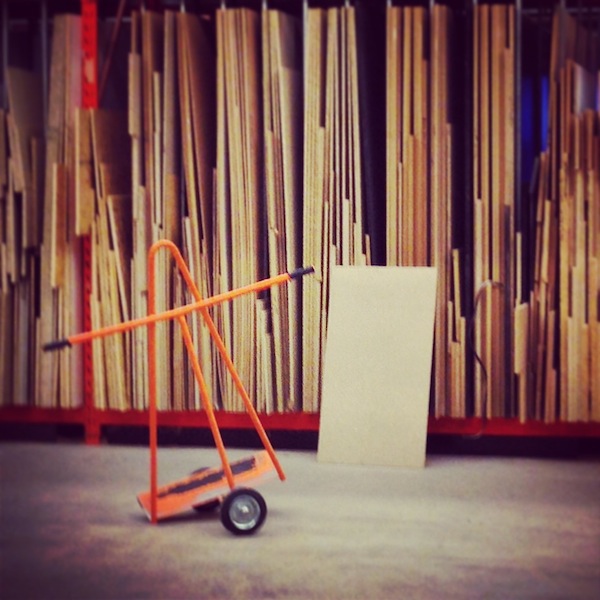
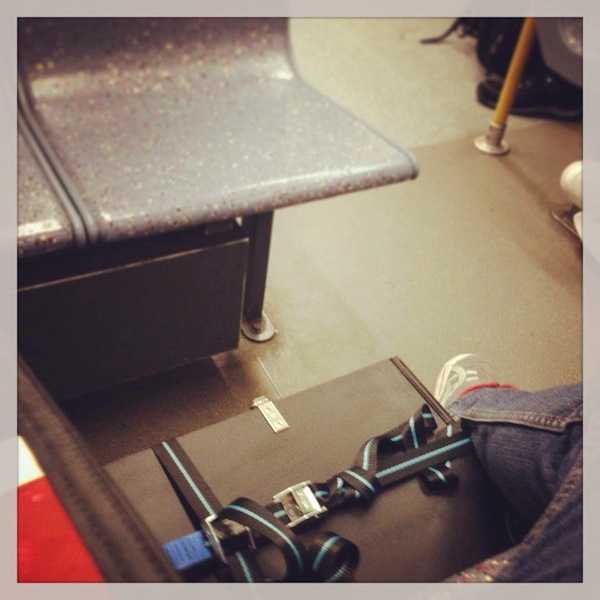
Took the case out on the road for the first time, to jam with VLK. The case is really heavy though, so it's nothing to lug around on foot really. I'll see that I get a trolley or something for the next jam session. Otherwise it was a great experience, not just with the case, but also the jam session
Okay, this is where I am right now. If you want to follow my further enhancements in "real time", check out my Instagram feed:
http://instagram.com/tuesdaynightmachines
I will of course updated this thread and its OP as well
Finally, here's a current list of materials and cost, for those of you who think about building your own case too. I can only recommend it! It's a lot of fun!
Materials & Prices:
- Doepfer DIY Kit (second hand but new): 100 EUR
- Custom 600mm Rails, nuts & screws: 65 EUR
- Wood (Poplar, custom cut by hardware store): 25 EUR
- Misc. Materials (screws, brackets, sandpaper, hinges, latches, feet, etc.): 50 EUR
- 3M Dual Lock (Velcro): 20 EUR
- Spray primer & paint: 35 EUR
- Thin, 4-outlet Europower strip: 10 EUR
Total material cost: 315 EUR
And here is the ModularGrid link:
http://www.modulargrid.net/e/racks/view/111472


